

Step 1: Create Account
Fill in the information to create your account. Once created we will review your account and reach out for more information if needed prior to approving. Don't worry! You can still build your online store in the meantime!
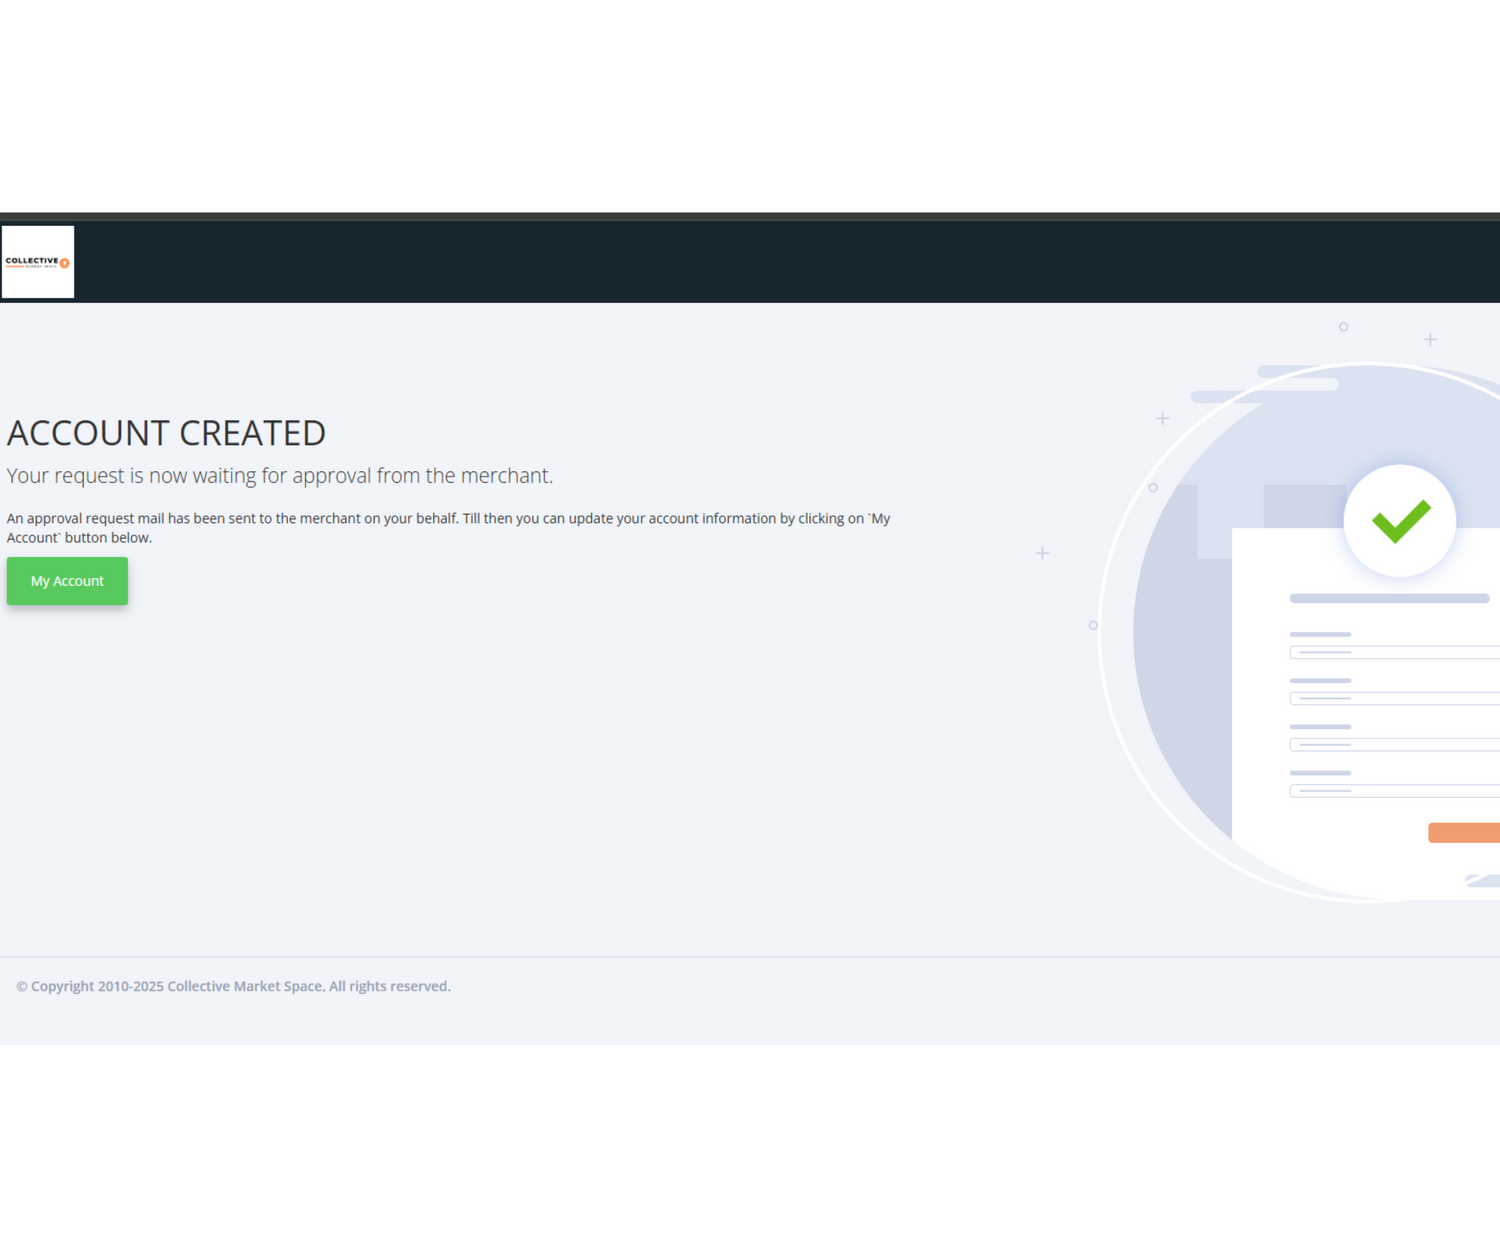
Step 2: Click "My Account"
While your account is awaiting approval please feel free to explore the selling back end and complete a few helpful tasks

Step 3: Add Profile Details
Here you will add details about your store such as your store name, address, contact info, and more.
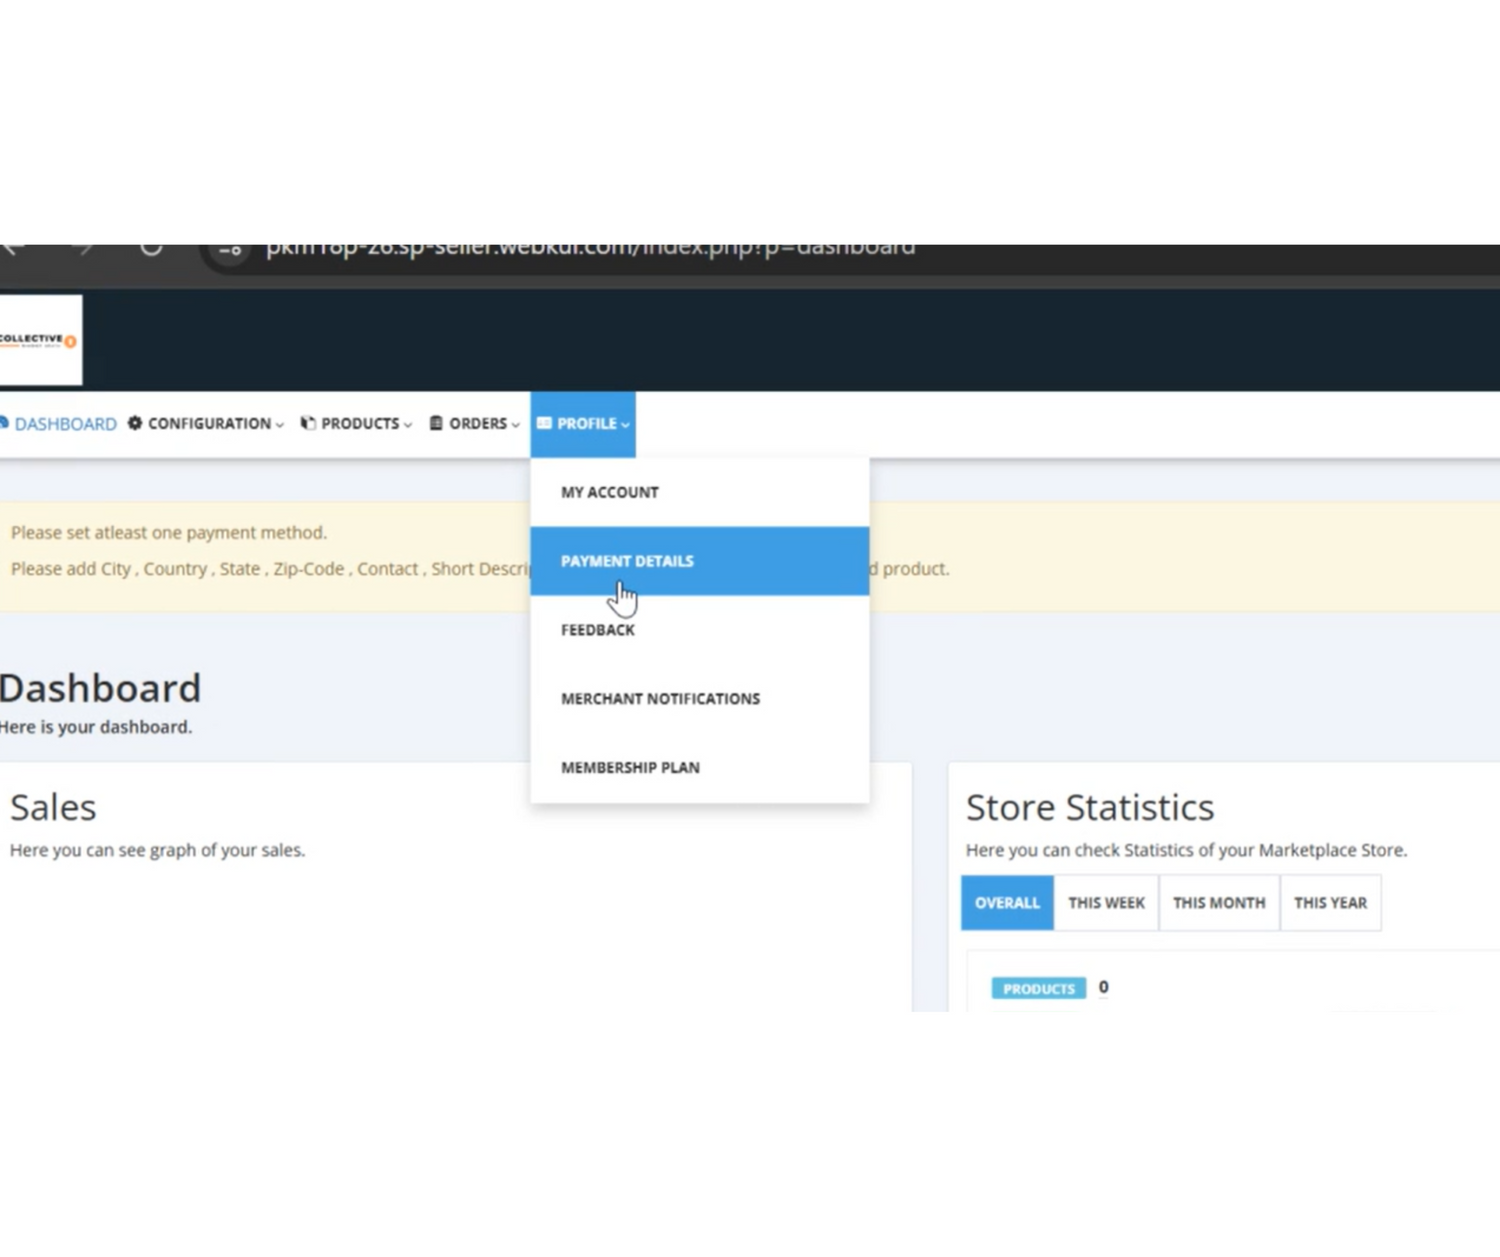
Step 4: Add Payment Details
Under "profile" select "payment details to begin adding your payment processer. **This will require you to signup for a stripe.com account**
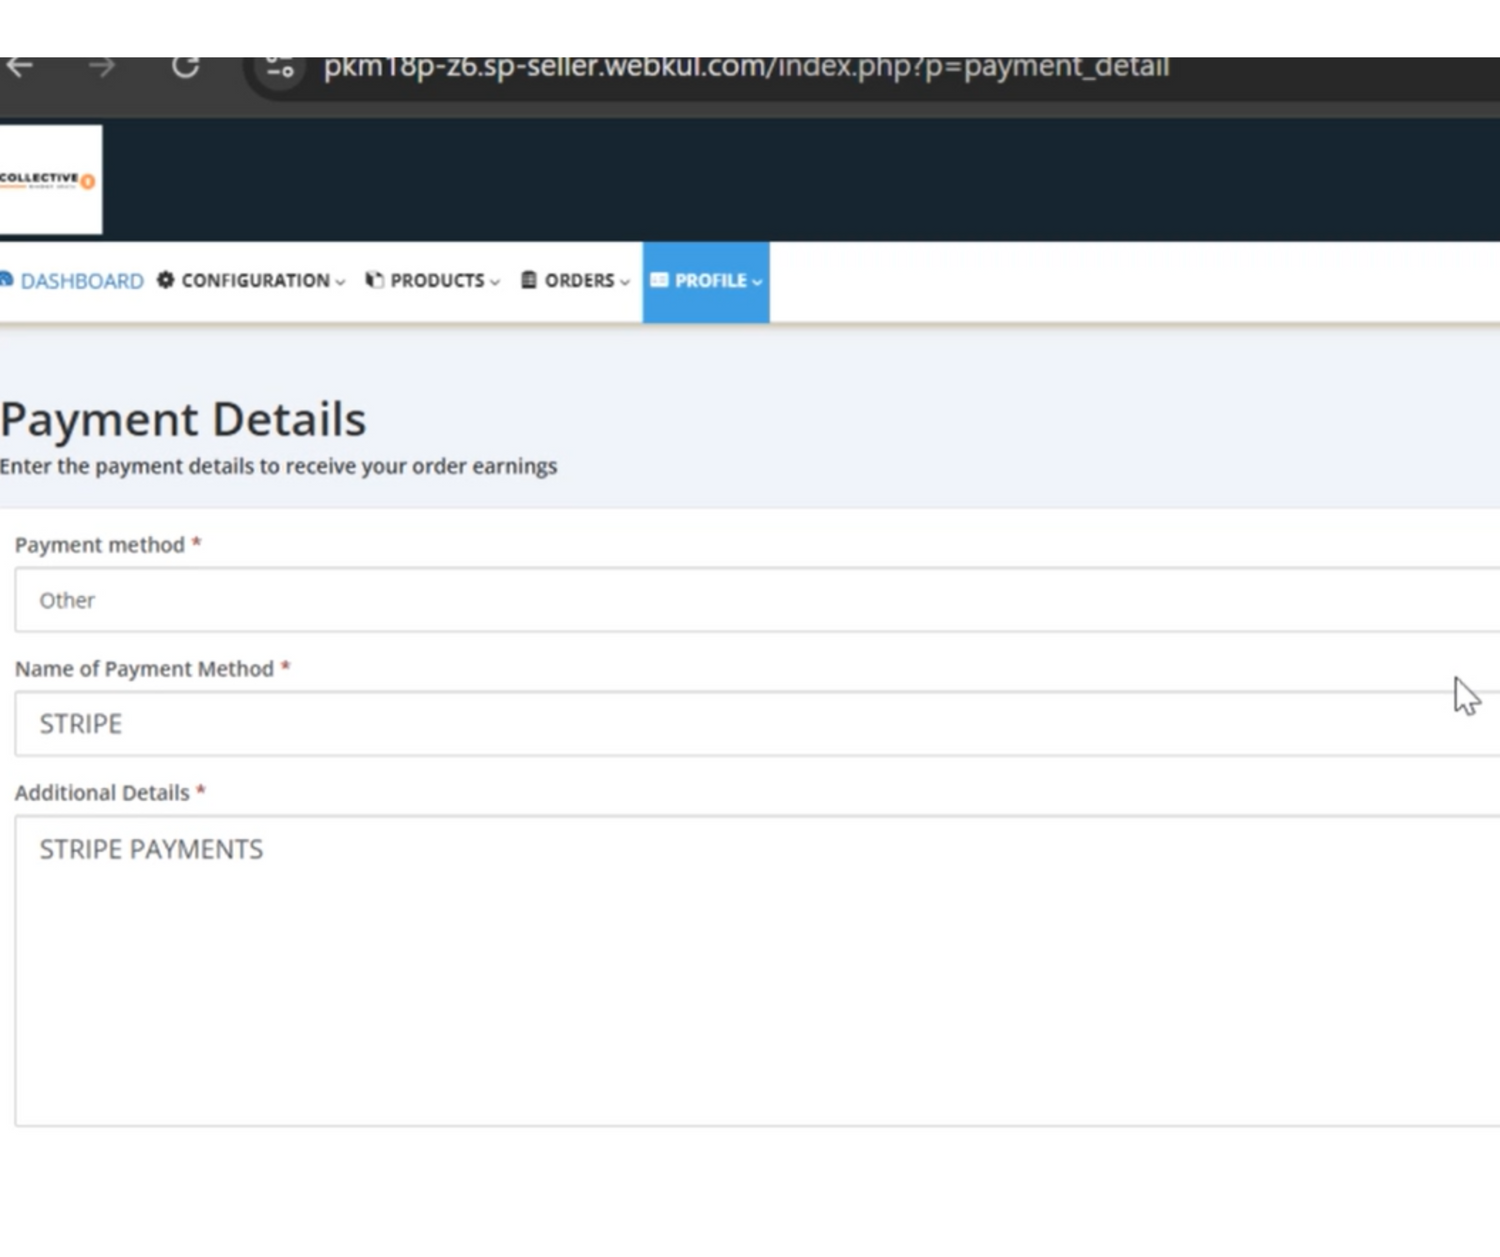
Step 5: Payment Details
Under payment method select "other". Name payment method "STRIPE". Under additional details type "STRIPE PAYMENTS".
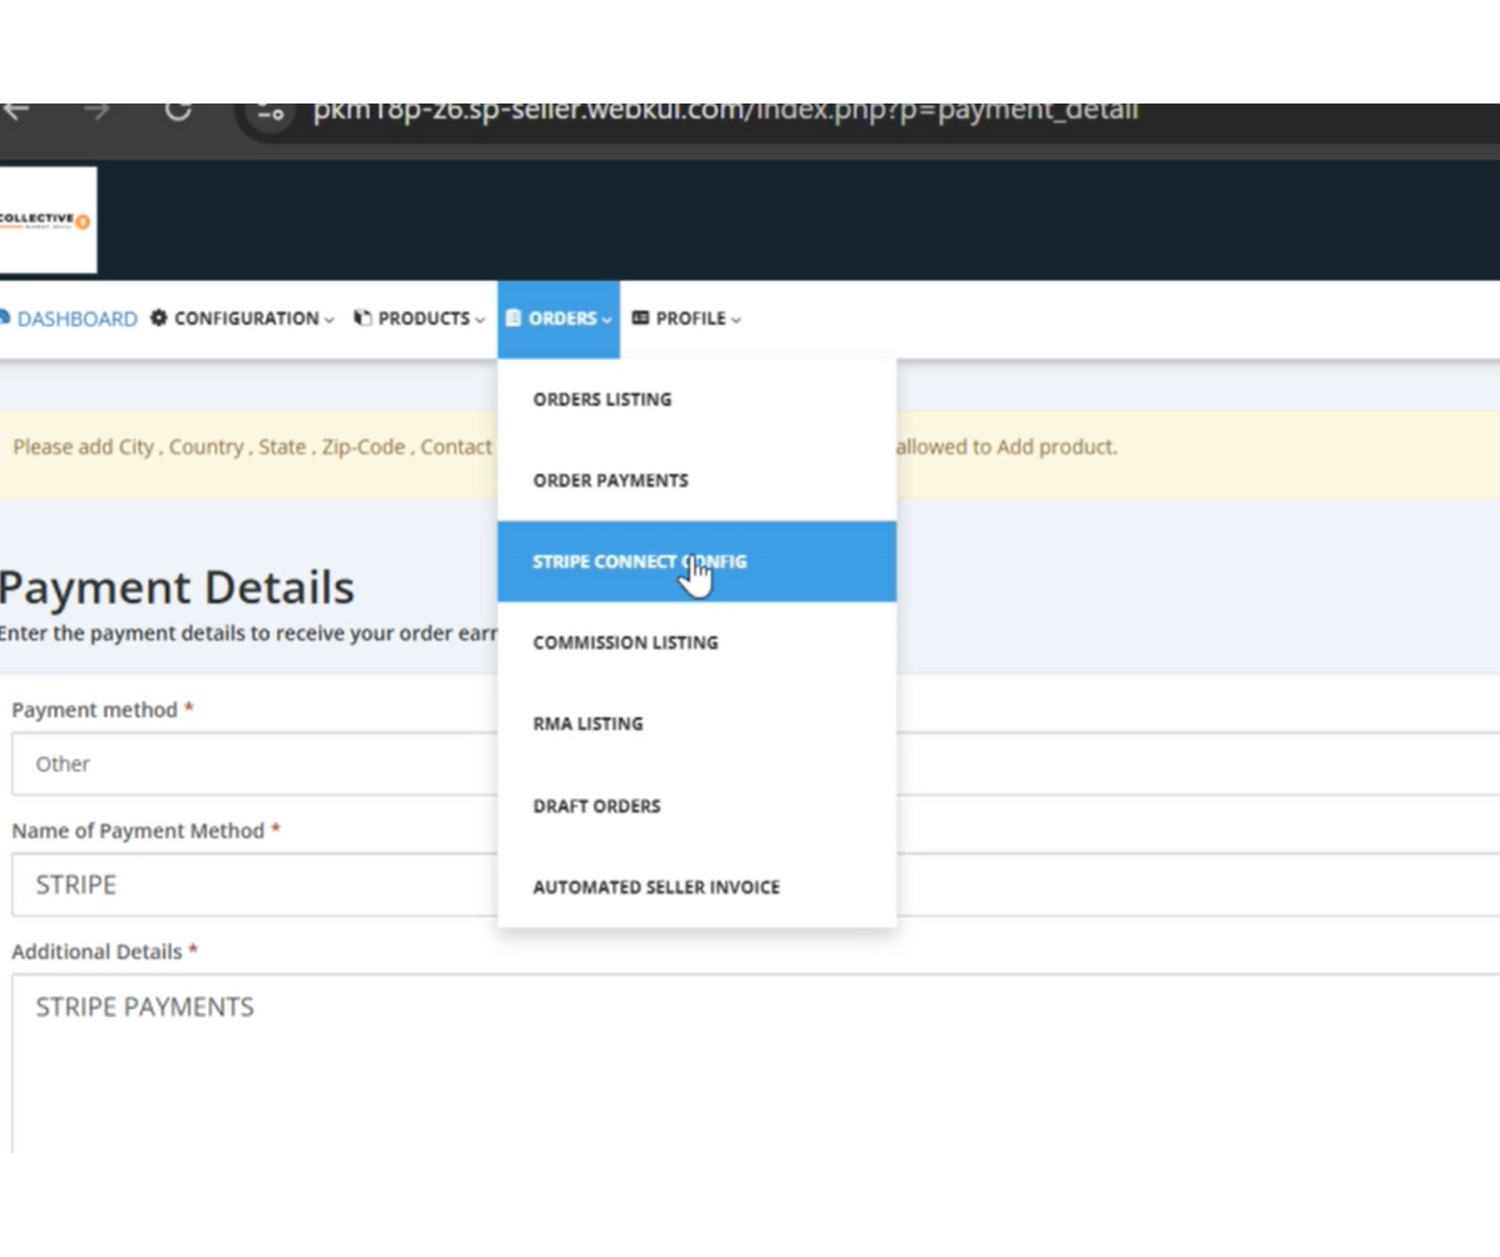
Step 6: Configure Stripe Account
Under "orders" please select "stripe connect.
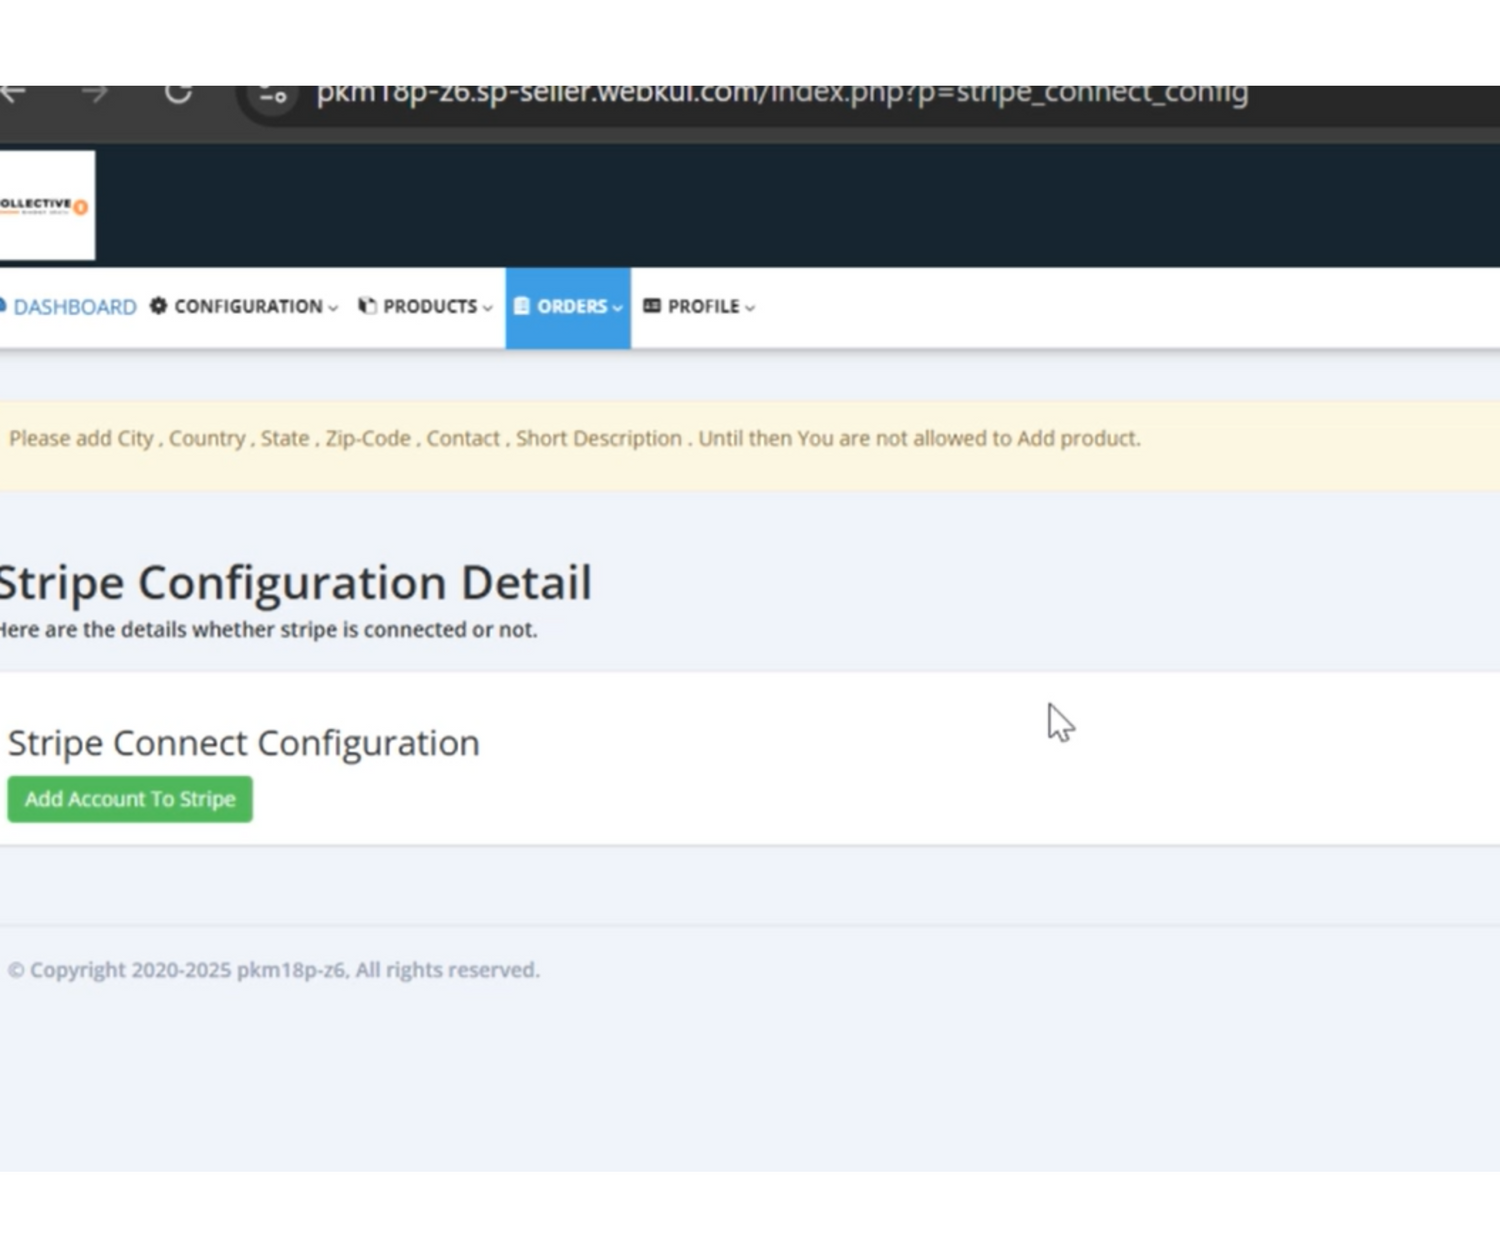
Step 7: Add Stripe Account
Click the green button labeled "add account to Stripe". Next follow the prompts to setup your Stripe account for payment processing. **You will need to download the "Google Authenticator App" to login securely. This is necessary for two-step verification security requirements.

You're account is Ready
Congratulations! Once your Stripe account is linked to your Collective Market Space and your account is approved, you're ready to start selling! Other details may be needed to fine tune your account, but we will happily assist you.

How to Post a Product
Now that your account is all setup it is time to post your first product for sale! Please follow the steps below to list your first product!
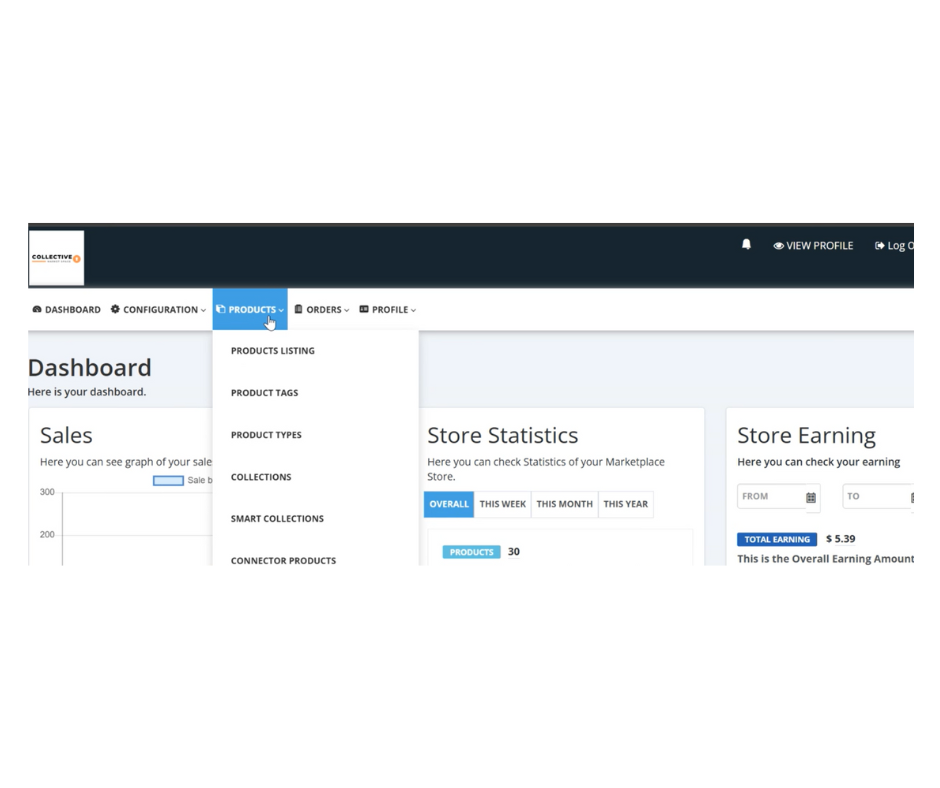
Step 1: Click "Products Listing"
Hover over the "products" tab under your seller dashboard and click "products listing". This will display all your listed products as well as be the area where you will post products for sale.
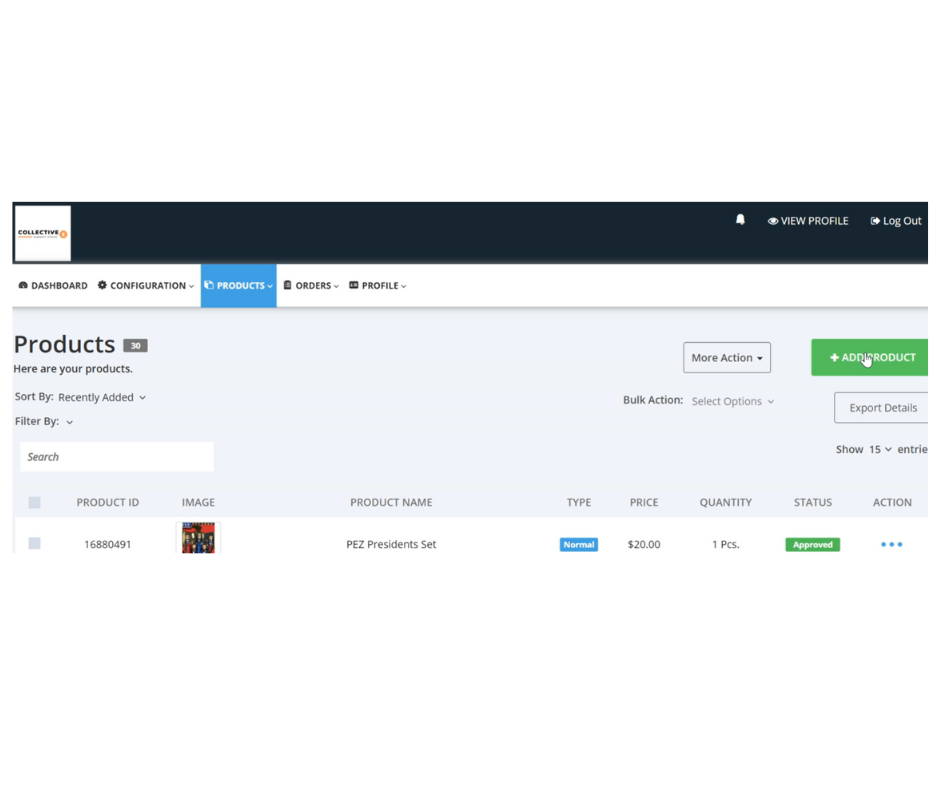
Step 2: Click "Add Product"
In the top right corner you will see a green button that says "Add Product" click that button to post your product. You will need to enter your product details after clicking that button.
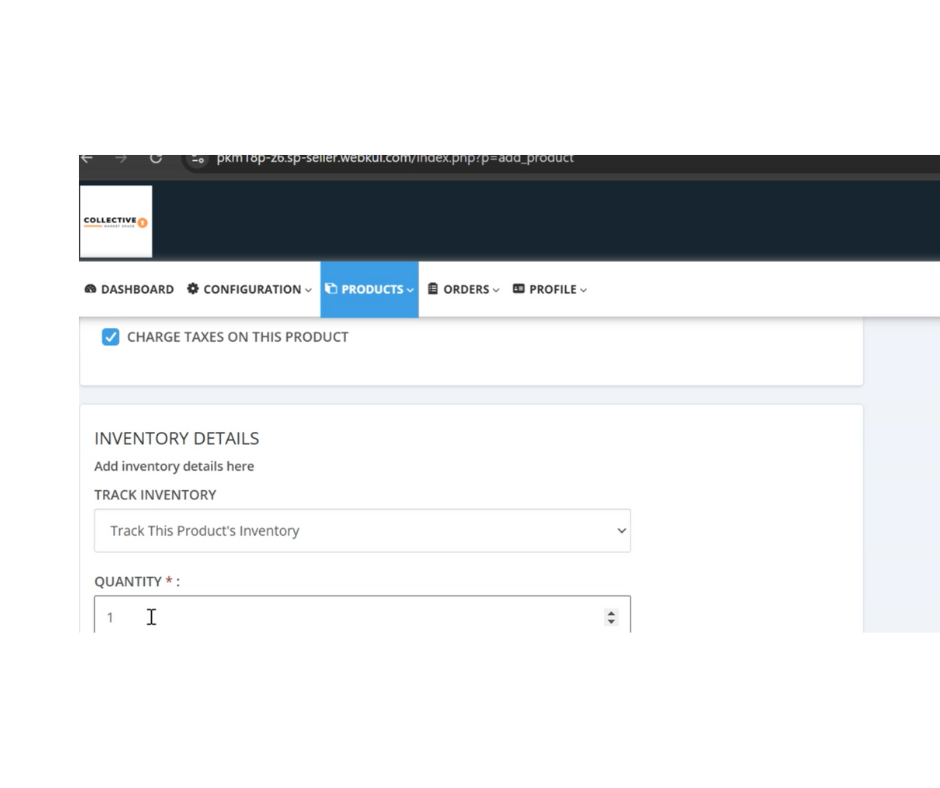
Step 3: Add Product Quantity
This is VERY IMPORTANT! If you do not properly set the quantity you have available, your product will either display as "sold out" if less than 1 OR if you over supply it will contribute to false sales and upset buyers.
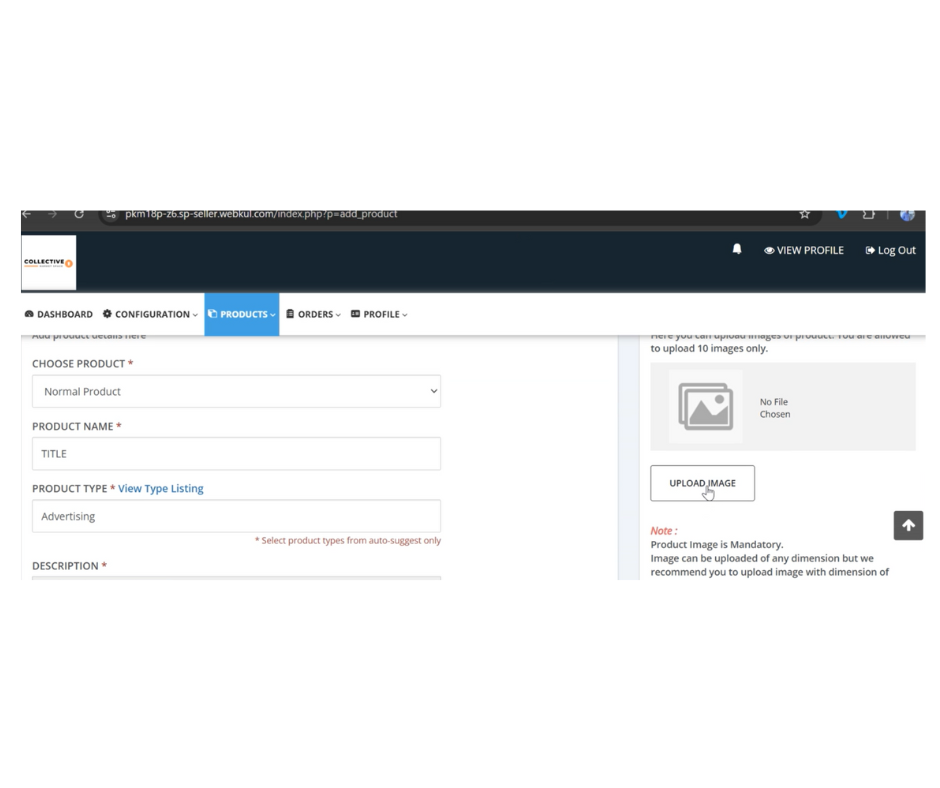
Step 4: Add Images
To add images simply click "upload images" and select the photos from your computer associated with the item you are selling. **The order you upload photos is the order they appear in the listing** We recommend uploading your preview image first than the remainder after that.
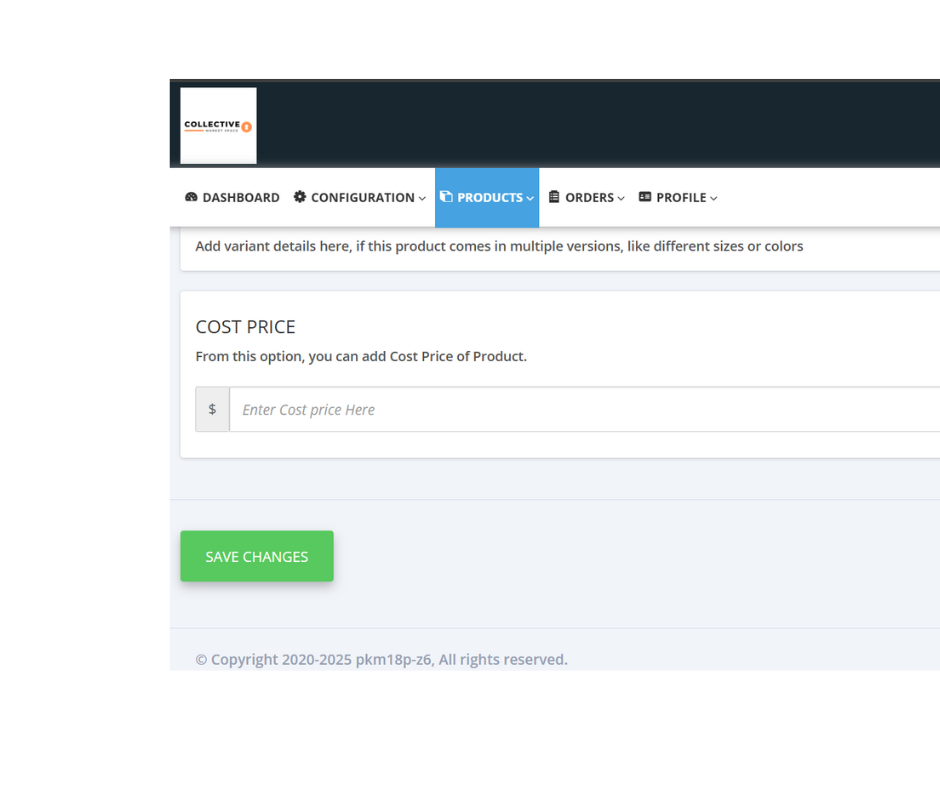
Step 5: Post Product
To publish your product for public viewing simply click "save changes". This will post your product for sale and to add another product simply repeat the process. Remember to describe your item well and to upload quality photos to increase buyer confidence. Upon making a sale you must reach out to the buyer to arrange a pickup time.